Happy Halloween! I'am back on the Southern Ridge Trading Company blog with a fun haunted house mini album. There is still 10 hours to participate in our Monthly Challenge and here is where you can find all of the details.
This is just one of the mini albums available in the SRTC store, which features a fun Haunted House front. I mixed White Linen and Black Marble Dylusions Paint together to make the paint colour for my haunted house. Once the front was dry, I repeated the same steps and painted the back. I wanted to add some texture to my haunted house so I ran it through a brick embossing folder to give it the impression of a brick facade. My haunted house was still missing something so I added the birch tree die cut. The birch tree die cut was a bit plain so I dressed it up using my Wink of Stella clear shimmering pen.

Supplies Used: SRTC - Mini Album, Dylusions Paint - White Linen & Black Marble, Brick Embossing Folder, Wink of Stella Clear Shimmering Pen and Tim Holtz Die - Birch Trees.
To finish off the side of the front of my Haunted House mini album, I die cut the word "haunted" for the side beside my brass skull charm. I have to give Emerald Creek a shout out for the fabulous brass skull, where you can find here other charms and stamps.

Supplies Used: Tim Holtz Die - Halloween Words Script & Emerald Creek - Brass Skulls.
For Page 1, I just covered the chipboard page with patterned paper from Reminisce called "Goosebumps - Scary Night". Once I adhered the paper, I added Glossy Accents to the pumpkins and the eyes of the bats.

Supplies Used: Glossy Accents, Black Soot Distress Ink & Reminisce - Goosebumps: Scary Night
For Page 2 and 3, I used chipboard pieces out of the Happy Halloween pack, which you can find here. I covered the ghost in White Linen Dylusions paint and I covered the bat in Black Marble Dylusions paint. To get the effect I did on my spider webs, I blended Black Soot Distress Ink over top of both cob webs and then embossed them with Iridescent embossing powder. To add some detail to the black photo mats, I used the Tim Holtz Cobwebs embossing folder.

Page 2 Supplies Used: SRTC - Happy Halloween, Tim Holtz Distress Ink - Black Soot, Dylusions Paint - White Linen, Iridescent embossing powder, Reminisce Halloween - Scary Jack, Bazzill Cardstock - Orange & Black & Tim Holtz Embossing Folder - Cobwebs.

Up close picture of the details on page 2

Page 3 Supplies Used: SRTC - Happy Halloween, Tim Holtz Distress Ink - Black Soot, Dylusions Paint - Black Marble, Iridescent embossing powder, Reminisce Halloween - Scary Jack, Bazzill Cardstock - Orange & Black & Tim Holtz Embossing Folder - Cobwebs.

Up close picture of the details on page 3
On Page 4 I adhered the Reminisce paper called "Goosebumps - Scary Night" to the chipboard page. Once adhered I added Glossy Accents to the pumpkin faces. For page 5 I cut apart the Happy Halloween word found, here, for the top and bottom of my photo mat. Once the Happy Halloween word was cut apart I blended Tim Holtz Carved Pumpkin Distress Ink over top of both chipboard pieces.

Page 4 Supplies Used: Tim Holtz Distress Ink - Black Soot, Ranger - Glossy Accents & Reminisce Goosebumps paper - Scary Night.

Page 5 Supplies Used: SRTC - Happy Halloween, Tim Holtz Distress Ink - Black Soot & Carved Pumpkin, Bazzill Cardstock - Orange & Black, Reminisce Goosebumps paper - Scary Night.

Up close picture of the details on page 5

Up close picture of the details on page 5
For page 6 I painted the bat from the happy halloween pack in Black Marble Dylusions paint. I then cut out a cob web from the delicate web die from Memory Box. To add some interest to my cob web I added some sparkle with my Wink of Stella Clear Shimmering pen. For Page 7 I painted the ghost from the happy halloween chipboard piece in White Linen Dylusions paint. I repeated the same step with the cob web that I did on page 6. To add some detail to the black photo mats on both pages, I used the Tim Holtz Cobwebs embossing folder.

Page 6 Supplies Used: SRTC - Happy Halloween, Tim Holtz Distress Ink - Black Soot, Bazzill Cardstock - Orange & Black, Reminisce Halloween paper - Creepy, Wink of Stella - Clear Shimmer, Dylusions Paint - Black Marble, Tim Holtz Embossing Folder - Cobwebs & Memory Box Die - Delicate Web.

Up close details on page 6

Page 7 Supplies Used: SRTC - Happy Halloween Pack, Tim Holtz Distress Ink - Black Soot, Bazzill Cardstock - Orange & Black, Reminisce Halloween paper - Creepy, Wink of Stella - Clear Shimmer, Dylusions Paint - White Linen, Tim Holtz Embossing Folder - Cobwebs & Memory Box Die - Delicate Web.

Up close detail on page 7
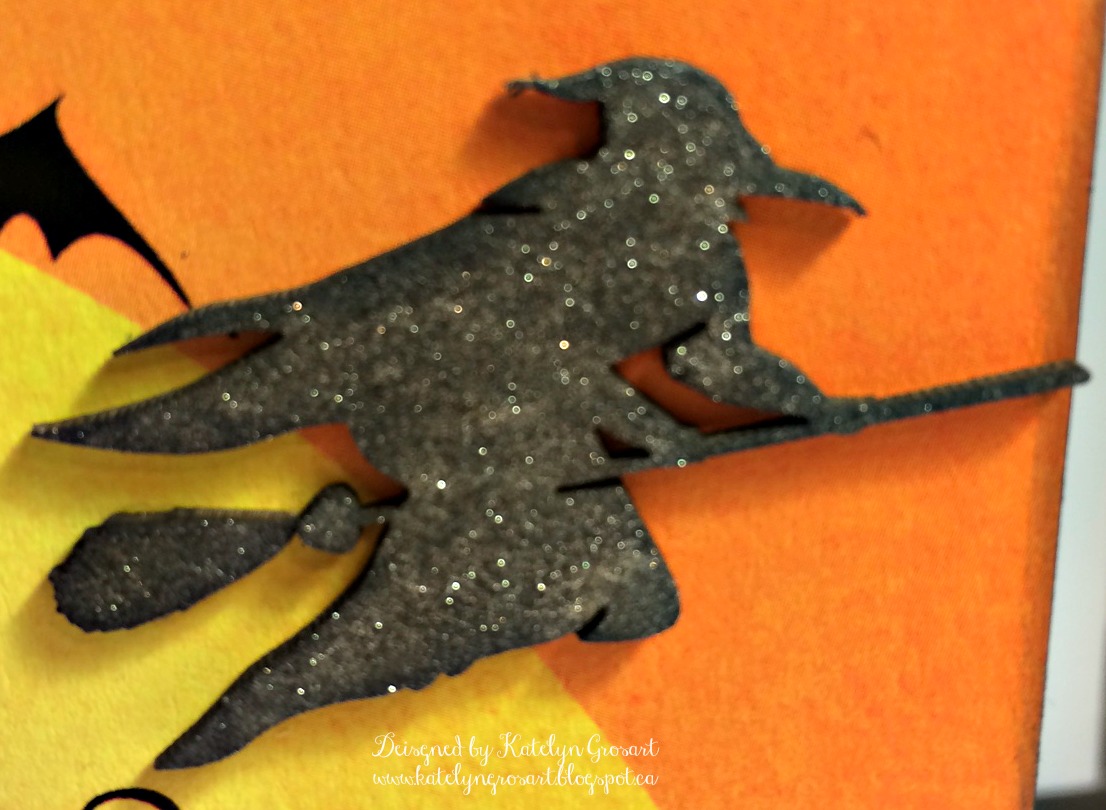
On page 8 I blended Black Soot Distress ink over top of the witch from the happy halloween pack. The witch needed some extra detail so I gave her some shimmer using the Wink of Stella Clear Shimmering pen. For page 9 I adhered the Remininsce paper called "Goosebumps - Happy Halloween", once it was adhered, I added Glossy Accents to the windows of the haunted house. Once again I blended Black Soot Distress ink over top of the witch from the happy halloween pack and added some shimmer with the Wink of Stella Clear Shimmering pen.

Page 8 Supplies Used: SRTC - Happy Halloween Pack, Tim Holtz Distress Ink - Black Soot, Bazzill Cardstock - Orange & Black, Reminisce Goosebumps paper - Happy Halloween & Wink of Stella - Clear Shimmer.

Page 9 Supplies Used: SRTC - Happy Halloween Pack, Tim Holtz Distress Ink - Black Soot, Bazzill Cardstock - Orange & Black, Reminisce Goosebumps paper - Happy Halloween & Wink of Stella - Clear Shimmer.
Up Close details on page 9
For page 10 I adhered the Reminisce paper called "Halloween - Scary Jack" to the chipboard page.

Page 10 supplies used: Reminisce Halloween - Scary Jack & Tim Holtz Distress Ink - Black Soot.
Here is the front of the haunted house mini album:

Thanks for stopping by and taking a look at my project. Have a safe and Happy Halloween and I hope that you will participate in our monthly challenge on the Southern Ridge Trading Company Blog.
Until Next Time!
-Katelyn